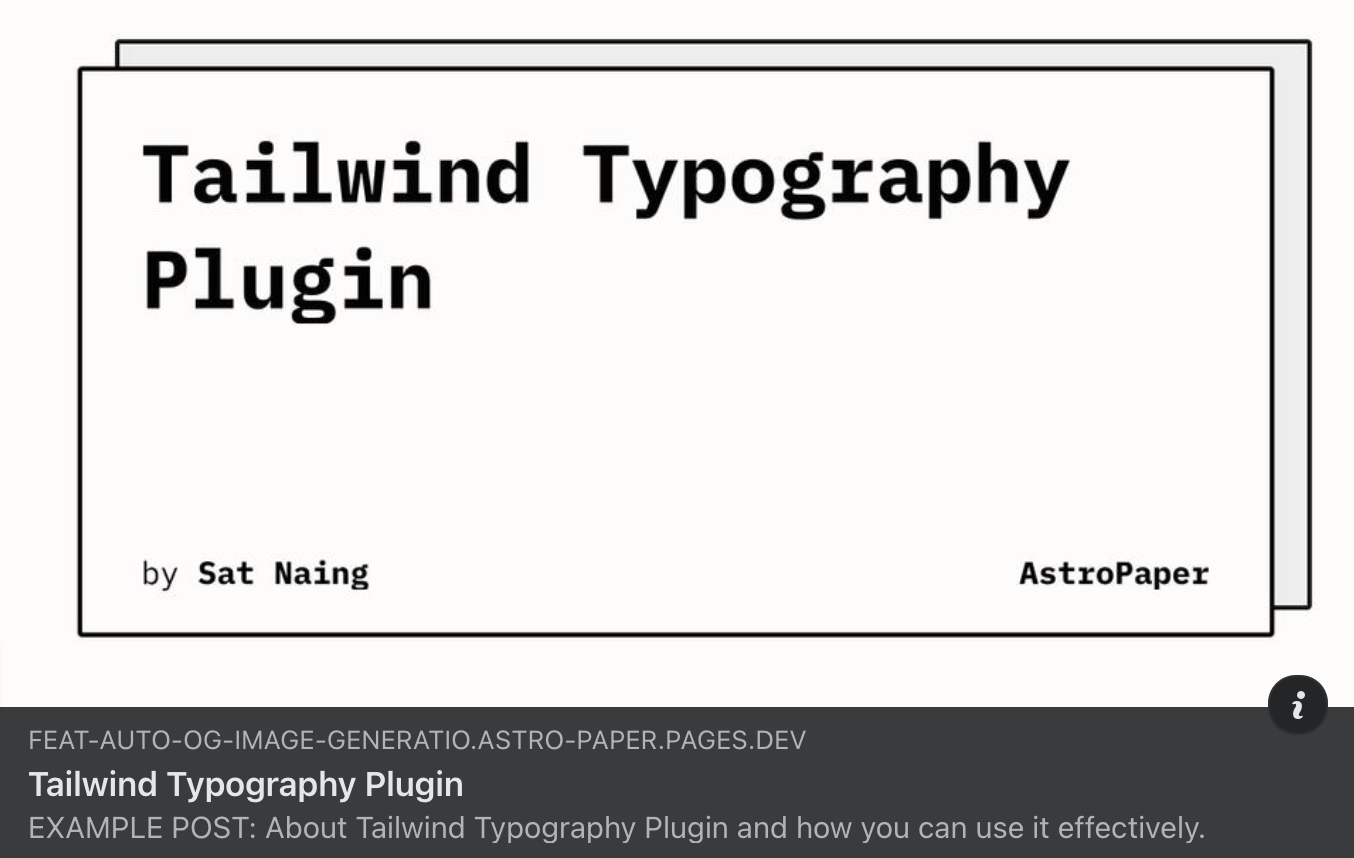
New feature in AstroPaper v1.4.0, introducing dynamic OG image generation for blog posts.
Table of contents
Open Table of contents
Intro
OG images (aka Social Images) play an important role in social media engagements. In case you don’t know what OG image means, it is an image displayed whenever we share our website URL on social media such as Facebook, Discord etc.
The Social Image used for Twitter is technically not called OG image. However, in this post, I’ll be using the term OG image for all types of Social Images.
Default/Static OG image (the old way)
AstroPaper already provided a way to add an OG image to a blog post. The author can specify the OG image in the frontmatter ogImage. Even when the author doesn’t define the OG image in the frontmatter, the default OG image will be used as a fallback (in this case public/astropaper-og.jpg). But the problem is that the default OG image is static, which means every blog post that does not include an OG image in the frontmatter will always use the same default OG image despite each post title/content being different from others.
Dynamic OG Image
Generating a dynamic OG image for each post allows the author to avoid specifying an OG image for every single blog post. Besides, this will prevent the fallback OG image from being identical to all blog posts.
In AstroPaper v1.4.0, Vercel’s Satori package is used for dynamic OG image generation.
Dynamic OG images will be generated at build time for blog posts that
- don’t include OG image in the frontmatter
- are not marked as draft.
Anatomy of AstroPaper dynamic OG image
Dynamic OG image of AstroPaper includes the blog post title, author name and site title. Author name and site title will be retrieved via SITE.author and SITE.title of “src/config.ts” file. The title is generated from the blog post frontmatter title.

Issue Non-Latin Characters
Titles with non-latin characters won’t display properly out of the box. To resolve this, we have to replace fontsConfig inside loadGoogleFont.ts with your preferred font.
// file: loadGoogleFont.ts

async function loadGoogleFonts(
  text: string
): Promise<
  Array<{ name: string; data: ArrayBuffer; weight: number; style: string }>
> {
  const fontsConfig = [
  {
    name: "Lora",
    font: "Lora",
    weight: 400,
    style: "normal",
  },
  {
    name: "Lora",
    font: "Lora:wght@700",
    weight: 700,
    style: "normal",
  },
  // You can add more fonts if needed
];

  // const fontsConfig = [
  //   {
  //     name: "Noto Sans JP",
  //     font: "Noto+Sans+JP",
  //     weight: 400,
  //     style: "normal",
  //   },
  //   {
  //     name: "Noto Sans JP",
  //     font: "Noto+Sans+JP:wght@700",
  //     weight: 700,
  //     style: "normal",
  //   },
  //   { name: "Noto Sans", font: "Noto+Sans", weight: 400, style: "normal" },
  //   {
  //     name: "Noto Sans",
  //     font: "Noto+Sans:wght@700",
  //     weight: 700,
  //     style: "normal",
  //   },
  // ];
  // other codes
   const fontPromises = fontsConfig.map(async (config) => {
    const fontData = await loadGoogleFont(config.font, text);
    return {
      name: config.name,
      data: fontData,
      weight: config.weight,
      style: config.style,
    };
  });

  return Promise.all(fontPromises);
}
Check out this PR for more info.
Limitations
At the time of writing this, Satori is fairly new and has not reached major release yet. So, there are still some limitations to this dynamic OG image feature.
- Besides, RTL languages are not supported yet.
- Using emoji in the title might be a little bit tricky.